
Docker as a Data Science Environment
The Problem With Environments
When starting to learn programming often times we jump into Python and start writing print(‘Hello World’). Later we move on to importing libraries, often times starting with default Python library. The next stage is to learn how to import libraries from PyPi or Anaconda. The problem is we generally learn about environment management after we start installing libraries. Each project should start with a clean environment, this can be painful and time consuming to set up.
In addition there have been time when building a model I have installed a library only to later decide to not use that library. Keeping the environment clean can be time consuming and detract from the actual building of the model.
In addition, managing environments via the command line or the Anaconda dashboard can be messy. I can’t count the number of times I have forgotten an environment name of a project I have been working on. This builds into an issue of reproducibility. I can share my code and data, but it can be difficult to reproduce the environment even with a requirements file.

Enter Docker as a Solution
Docker is often seen as a DevOps tool which can help with the deployment of code. It is absolutely true Docker can help with production as well as help with development environments and build a data science development environment. By using Docker an person can start a new project folder, download or build a jupyter Dockerfile and start a Docker instance. They can then include the Dockerfile or docker-compose file into their code repository. Now we are not managing environments via a command line or Anaconda dashboard we are managing the environment via a .yml file. This also makes sharing code very easy as a person can clone the code repository and create the same environment using Docker.
How to implement
Dockerfile
So if you have made it this far you are interested in how to set up a data science environment using Docker. The following steps will break down how I created a NLP focused jupyter notebook using Docker. I will also include the link to the Docker image in case you just want to download it yourself. If you are brand new to Docker I would highly recommend a quick tutorial I personally like Bret Fisher.
Assuming Docker is installed, the first step is to build the base image. You can build everything from scratch, or you can use a prebuilt image from Docker Hub. As I am building this NLP environment for jupyter, I am going to start with the jupyter scipy-notebook docker image. I like this image as it builds a jupyter instance and installs commonly used libraries such as pandas, matplotlib, scipy, and scikit-learn. The Dockerfile I used is below:
So what is going on here, let me describe.
- Lines 1-3. I am using the base jupyter scipy-notebook image, so I have included their license. The ARG sets "BASE_CONTAINER" as a variable name for the jupyter/scipy-notebook. The "FROM" sets the base image as the jupyter/scipy-notebook.
- Line 5. I added the maintainer label as me, since I built this variation.
- Line 7. I set the user as $NB_UID, this user was set in the base jupyter image. Docker runs on root by default as such it is important to always add a user and change to user.
- Line 10. I used pip to install spaCy, while spaCy can install from the conda prompt, it was having issues so I just used pip.
- Line 12. I use conda to install ntlk to the 3.4 version.
- Line 14. I used conda to install gensim.
- Line 15. Conda clean is called. This will remove any unused packages and clean the cache.
- Line 18. This command is used to download the popular nltk data files.
- line 19. This command will download the spaCy large English data file.
So you can copy this code yourself and create your own Dockerfile or go the command line and use docker pull vp7799/nlp-jupyter-notebook. If you would like to see the build information on Docker Hub you can go to nlp jupyter notebook docker image
Docker Compose
So to run this image and make it useable the following command could be used docker container run -p 8888:8888 -v ./work:/home/jovyan/work [docker_image] you would need to create the work folder in your working folder. The problem with this is this a very long and fragile command to type each time. The best way around this is to use a docker-compose file as shown below:
As before let me break down what is going on.
- Line 1. This denotes the version of docker-compose to use, it is highly recommend to use version: "3" or higher.
- Line 5. This is the docker image you will use for the notebook, this is the Docker Hub location of the docker file which was built above.
- Line 6. This is the name of the docker container, this can be whatever you would like.
- Lines 7-8. This is where you would set any environment variables. For example the default launch is a standard jupyter notebook. However, I like using the jupyter Labs notebook, so this is where I set that launch variable
- Lines 10-11. This is where we map the volume location so we can access files in the docker environment on our local computer. The format is Host:Docker Container. So in this docker-compose file we are mapping the work folder in our current directory to the work folder in the container. This work path was set by the base jupyter instance, and since it works I see no reason to change it.
- Lines 12-13. This is were we map ports from the host computer to the container, this is important as we will access the jupyter instance via a web browser on localhost:8888. As with volumes the format is Host:Container.
If you want to use this Docker compose file you can either copy the gist above or you can clone the github repository at https://github.com/tvanpat/dockerfile and choose the nlp-jupyter-notebook folder. The Dockerfile repository is where I store all my Dockerfiles for automatic builds onto Docker Hub. I plan to do a short write up on this in the future.
Starting a new NLP Project
Let’s say I am starting a new NLP project. I can simply create a new folder and copy the docker-compose file from https://github.com/tvanpat/dockerfile/tree/master/nlp-jupyter-notebook. From the command line I go to that folder and run:
docker-compose up
Docker will start downloading the required images and creating the container. As a warning, this image is about 2.3 GB and will take a long time to create. My advice is to run the docker-compose up command, and go get a cup of coffee. The good news is the next time you run docker-compose on this docker image the process will go much faster as docker images are cached locally.

I copy the last line to include the token and paste it into my browser
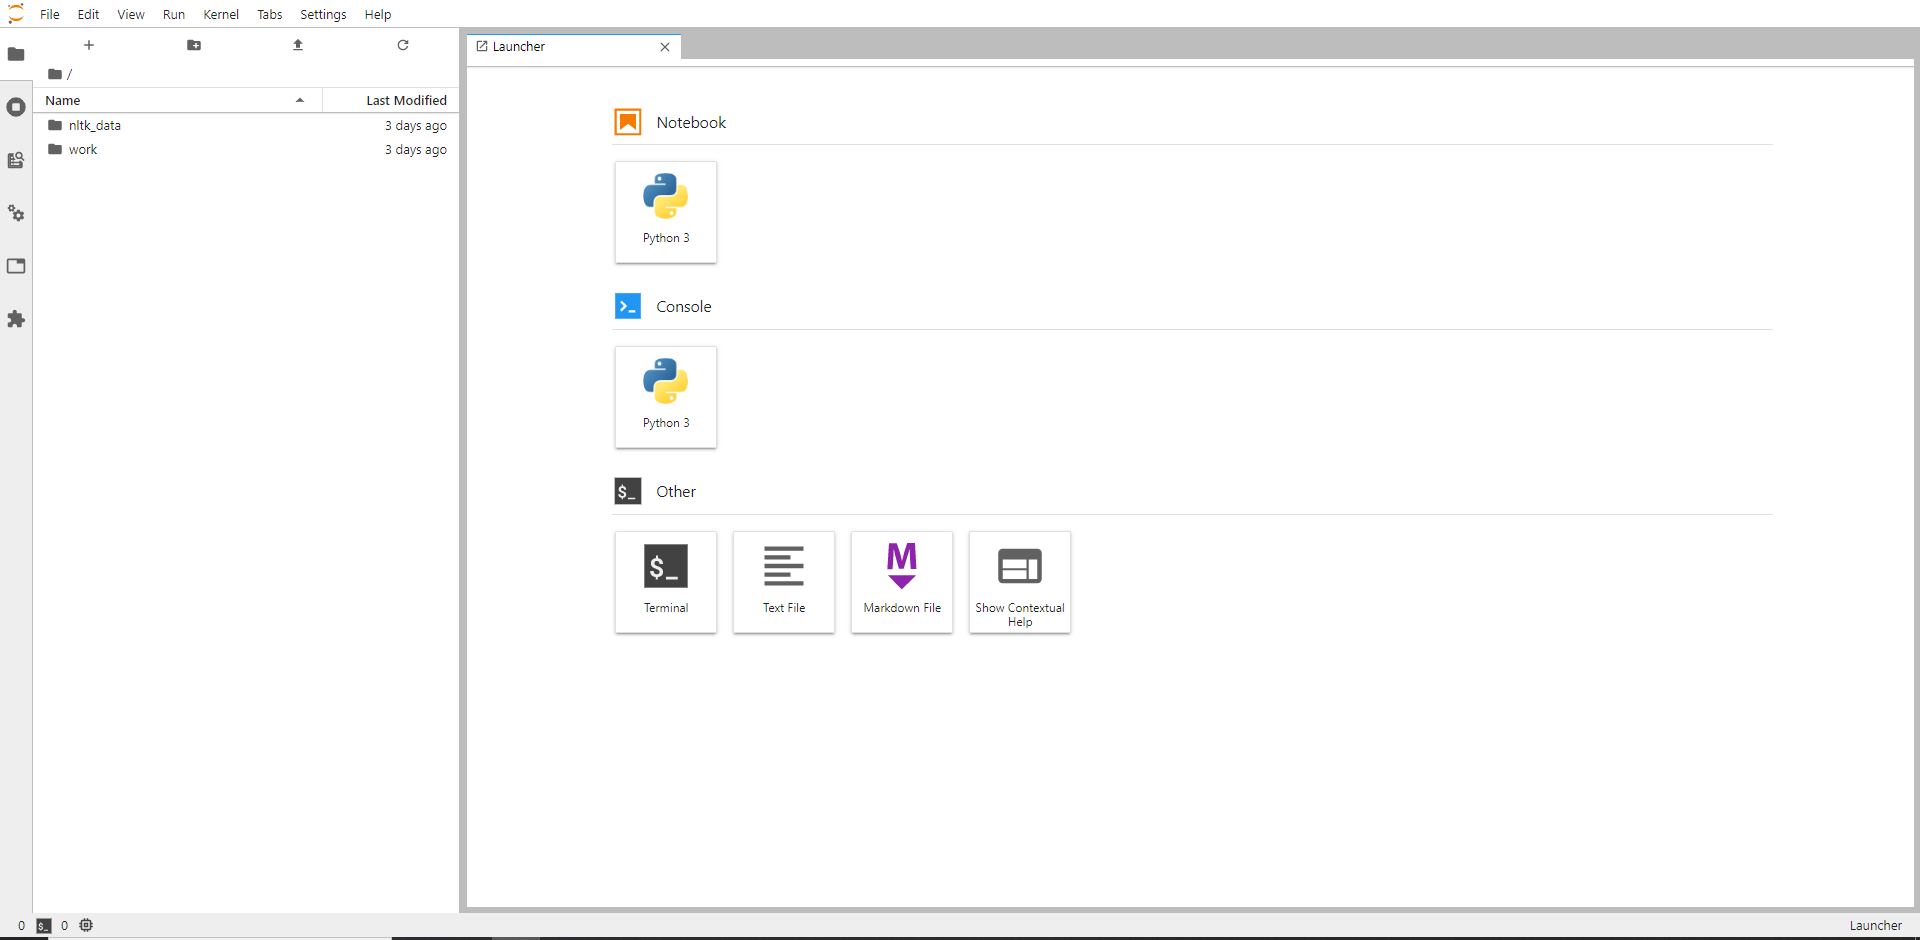
Now I have a Jupyter Labs notebook that has spaCy, NLTK, and gensim along with most standard ML libraries. It is important to save all work into the work folder so it is accessible by the host computer.
Installing Additional Libraries
So the basic NLP environment is set, but lets say I want to add a specific library just for this project. I can install it in the jupyter labs enviroment, but now if I share this project that person will have to install that same library in their jupyter environment. The easiest and best practice is to create a new dockerfile based upon the NLP dockerfile created earlier. In my project folder I can create a Dockerfile as such
Now a simple change to the docker-compose file and I can once again use docker-compose up to launch my jupyter environment. If I don’t want to push my Dockerfile to Docker Hub I can use the docker-compose file below
The change is on line 5, where I change image to build and use the . to indicate use the local Dockerfile. If I chose to push my new Dockerfile to Docker Hub I keep image, but change the image local as such
Conclusion
There it is, setting up a base data science environment using Docker. I like to set a base image that most of my projects will use and then add to the Dockerfile as necessary. This process creates large Docker images, the base NLP Docker image created here is 2.3 GB. In the world of Docker images this is gigantic, but it is important to understand these images are not to be used in production environments, but rather to build a data science development environment. There is some time lost in initial setup, but I think there is a time gain in maintenance and reproducibility of the environment used to build the model.